- Homeowners
- Professionals
- Products
- Back
- PlasterBoards
- Metal Framing & Accessories
- Jointing and Finishing
- Gypsum Plasters
- Ceiling Tiles
By material Type
By Category
- Resources
- About
- Careers
- FAQ's
By material Type
By Category
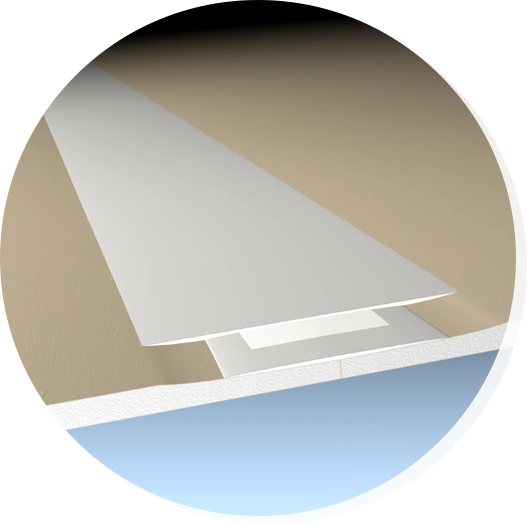
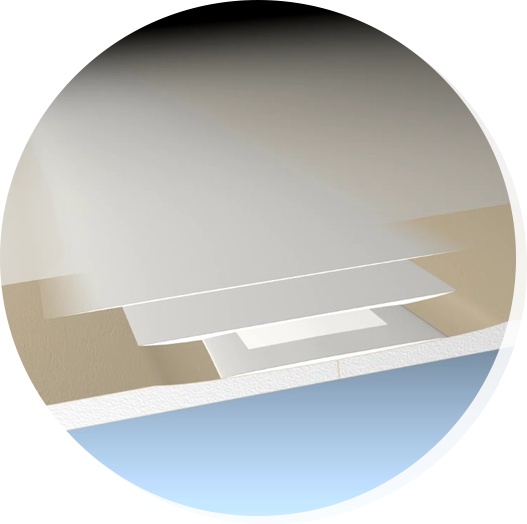
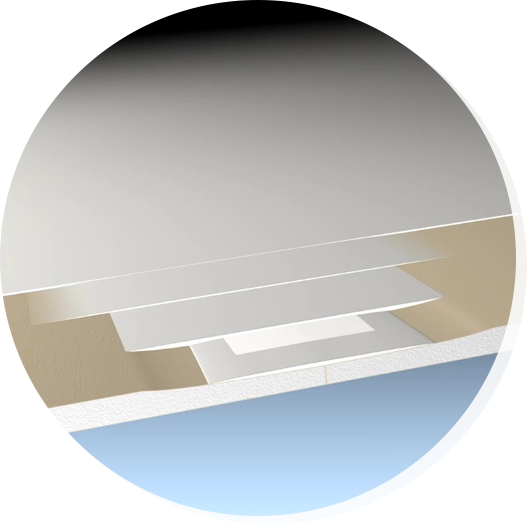
Jointing and finishing is the process through which gypsum Boards systems are transformed into smooth, structurally sound walls and ceilings. This process eventually determines the look of the interiors.
JOINTING AND FINISHING PRODUCTS
LEVELS OF JOINTING AND FINISHING
Traditionally, the quality of a surface has been judged subjectively, with the use of phrases such as “ready-for-painting”, “ready-for-covering” and so on. However, these are not suitable for describing the level of finish. A “finished” and “ready-for-painting” surface for one person may be a sub-standard one for another.
The quality of finish of gypsum board is defined by the Euro Gypsum standards (based on EN 13963). The level of finish is affected by the dimensional tolerances of boards, metal framings and level of workmanship. The flatness of the Drywall and Ceiling also impact the level of finish.
Local Flatness
Standards
A ruler of 200 mm applied on the cladding of the drywall, particularly at the joints, must not have a difference bigger than 1 mm between the most salient point and the point furthest away.
General Flatness
Standards
A ruler of 2000 mm length applied to the face of the drywall and moved in all directions must not have a difference bigger than 4 mm between the most salient point and the point furthest away
Stages Of Jointing And Finishing
Shallow light (natural or artificial) can affect the appearance of the surface. Ideally, lighting conditions where the board systems are used should be known in advance. The surface quality should not be judged by flood-lighting, and the limits of manual workmanship should be considered.


Q2 + a skimming coat of Gyproc Champion Skimming Putty (>1mm) over entire board surface
Know More
Jointing level 1 (Q1)
The basic filling of plasterboard joints (Q1):
This is recommended for Jointing Level 1 jointing of the internal layer of Gypsum boards for a double layer partition
Jointing Level 1 includes:
Filling the joints between boards
Covering screw heads
Basic filling includes the taping of the joint
Excess jointing material should be removed. Tool marks, grooves and ridges are allowed
Jointing level 2 (Q2)
Jointing Level 2 (Q2) involves Q1 + levelling the joint to the board surface with Pro-Fill / Easi-Fill
The main objective is to provide continuous transition from the joint area to the board surface. The same applies to fixings, corners, and expansion joints
Jointing Level 2 includes:
Basic filling (Q1)
Smooth transition to the board surface, including sanding jointed areas if necessary. Application marks or ridges may not be totally eliminated
This type of surface is suitable for:
Medium and coarse structured wall coverings, e.g. ingrain / textured wallpaper or standard wallpaper
Matt, filling, medium and coarse structured paint coatings/coats (e.g. emulsion paints) that are applied manually with a lambskin or structured roller
Top coats (maximum particle size > 1mm)
Jointing Level 2 finish does not eliminate physical marks/ridges completely. These effects can be reduced by specifying Jointing Level 3

Finishing Level 3 (Q3)
Jointing and finishing in accordance with Finishing Level 3 (Q3) includes:
Jointing and finishing to Q2
Wider finishing of the joint (400 to 450mm) and a tight coat of Pro-Fill / Easi-Fill(< 1mm) to the entire gypsum board surface, filling the pores.
Physical ridges and grooves are not acceptable, except the ones showing under the effect of shallow light.
The level and extent of such marks is considerably lower than Q2.
Physical ridges and grooves are not acceptable, except the ones observed under shallow light
This type of drywall surface is suitable for
Fine structured wall coverings
Matt and fine structured paint coatings
Top coats (maximum particle size less than 1 mm)
Finishing Level 4 (Q4)
High-end drywall surface where the entire drywall is covered with a layer of Finishing Level 4 jointing material or a skimming plaster (thickness > 1mm)
The skim coat minimises any marks or traces on the drywall surface and in the joints.
Skimmed surfaces that are perfectly even and free of shading are impossible to achieve
Quality Level 4 includes:
Jointing and finishing to Q2
Covering the surface completely with Gyproc Champion Skimming Putty (thickness > 1mm)
The undesirable effects of shallow lighting are considerably reduced. Some visible imperfections in natural lighting may be acceptable because of the limits of manual workmanship
Depending on the site, it is recommended to try out or test the Q4 surface on an area of sufficient size under final lighting conditions. This job will normally be ordered separately by the client
This type of drywall surface is suitable for:
Smooth or structured glossy wall coverings, such as metal-based or vinyl wallpapers
Paints or coats up to medium gloss
Special coatings, stucco marble or similar specialist decorative finishes
In specific cases (glossy/ varnish/ wallpapers with varnish) it may be necessary to introduce additional procedures for the pre-treatment of the final drywall surface
Performance Benefits of Q4 levels of Finish
A Q4 finish delivers far superior aesthetics. This level of finish also offers significant performance benefits in acoustics and fire safety.
Effect on Acoustical Performance
Cracks affect acoustics or isolation of a drywall by "flanking" the sound. Sound can flank over, under, or around a wall or through air gaps. Noise passes through spaces at the weakest points. This air-gap, or "flanking" path, can seriously degrade the isolation quality of a wall.
A tiny crack/gap of a width of 0.1mm can reduce the overall insulation performance of a drywall by 15%
A crack/gap of a width of up to 0.5mm can reduce the performance by approximately 35%
A crack/gap of 1mm will give a dismal performance of 50%
Effect on Fire Performance
A fire-resistant system acts as a shield against fire, heat, smoke and harmful gases. Cracks or gaps reduce the fire-resistance of a drywall. Smoke and gases can easily pass through such cracks or gaps and cause discomfort and health hazards.
A Q4 level of finish not only improves the look and feel of the interiors, it also delivers superb acoustic and fire safety performance.
Jointing And Finishing Process
Surface Preparation
Ensure that all fixings, screws or nails, are seated below the surface of the gypsum Boards
Remove any dust or loose material from the Gypsum board
Mixing
Mix Gyproc Easi-Fill®/Pro-Fill®/Pro-Top® with the clean water in the ratio of 2:1 to make a uniform paste. Continue the mixing for 10 – 15 minutes to form a homogeneous mix.
Ensure that no unmixed powder / lumps remain in the mixed material.
Jointing And Finishing Process Steps
Surface Preparation removes dust from the gypsum board and sets the fixings & screws
below the surface. The homogeneous mixture of Gyproc Easi-Fill®/Pro-Fill®/Pro-Top® with clean
water ensures that no unmixed powder/lumps remain in the mixed material.

step 1
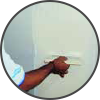
After framing and boarding the surface is ready for jointing and finishing

step 2
Prefill the joint with Jointing Compound
step 4
Allow the first coat to dry then apply the second coat
step 5
Allow the second coat to dry then apply the third coat

step 6
Sand joints after jointing compound dries

step 7
Surface is ready after jointing and finishing for final surface finishing
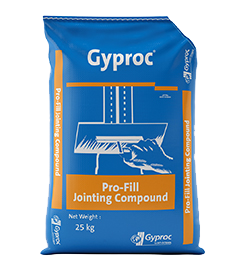
Jointing compound are gypsum based powder (or premix) material used to finish Gypsum Board Joints, corner bead, trim, gaps. It is available in powder & premix form.
There are 2 Types of Jointing Compound
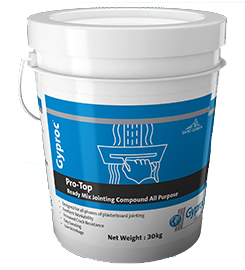
Gyproc Pro-Top Ready-Mix is all purpose Jointing Compound, which can be used for Jointing & Finishing of Gypsum Board Joints. It is ready-to –use product, with higher crack resistant properties, which can be used on all types of Gypsum Boards.
Easi-Fill Hydro is a gypsum based powdered jointing compound with a setting time of 90* minutes. Easi-Fill Hydro is a moisture resistant jointing compound with reduced Water Absorption designed for quick jointing & finishing of Glasroc H & Moisture Resistant Board. Easi-Fill Hydro is recommended for wet area jointing & finishing.
Surface Preparation:
Mixing:
There three stages in Jointing & Finishing of Gypsum Board.
First Coat
Second Coat
Third Coat
When jointing two cut edges or sheet ends, which are not recessed, care needs to be taken to ensure the surface build-up of jointing material is minimized. The same basic procedure for tapered edges joints are to be followed as required for the tapered edge method. Take extra care when bedding in the tape to ensure that sufficient jointing material remains behind the tape. The absence of a recess can often lead to the entire jointing material being forced out from behind the tape.
Gyproc India Corporate Office
Saint-Gobain India Pvt Ltd - Gyproc Business,
Leela Business Park, 5th Level,
Opposite Leela Hotel, Andheri-Kurla Road,
Andheri (East), Mumbai - 400059,
Maharashtra, India
Saint-Gobain group
Saint-Gobain India Weber© Saint Gobain India Pvt Ltd. All rights reserved